Create a transfer and assign a transporter
Plan the next journey, select the correct ready bags and review the route and transporter before creating the load.
Overview
Plan the next journey, select the correct ready bags and review the route and transporter before creating the load.
Understand the transfer journey
A transfer records one movement between an agency or hub and the next agency or hub. The sending team prepares the load, the transporter carries it, and the receiving team confirms the bags that physically arrive. A bag can use several transfers before reaching its final receiving agency.
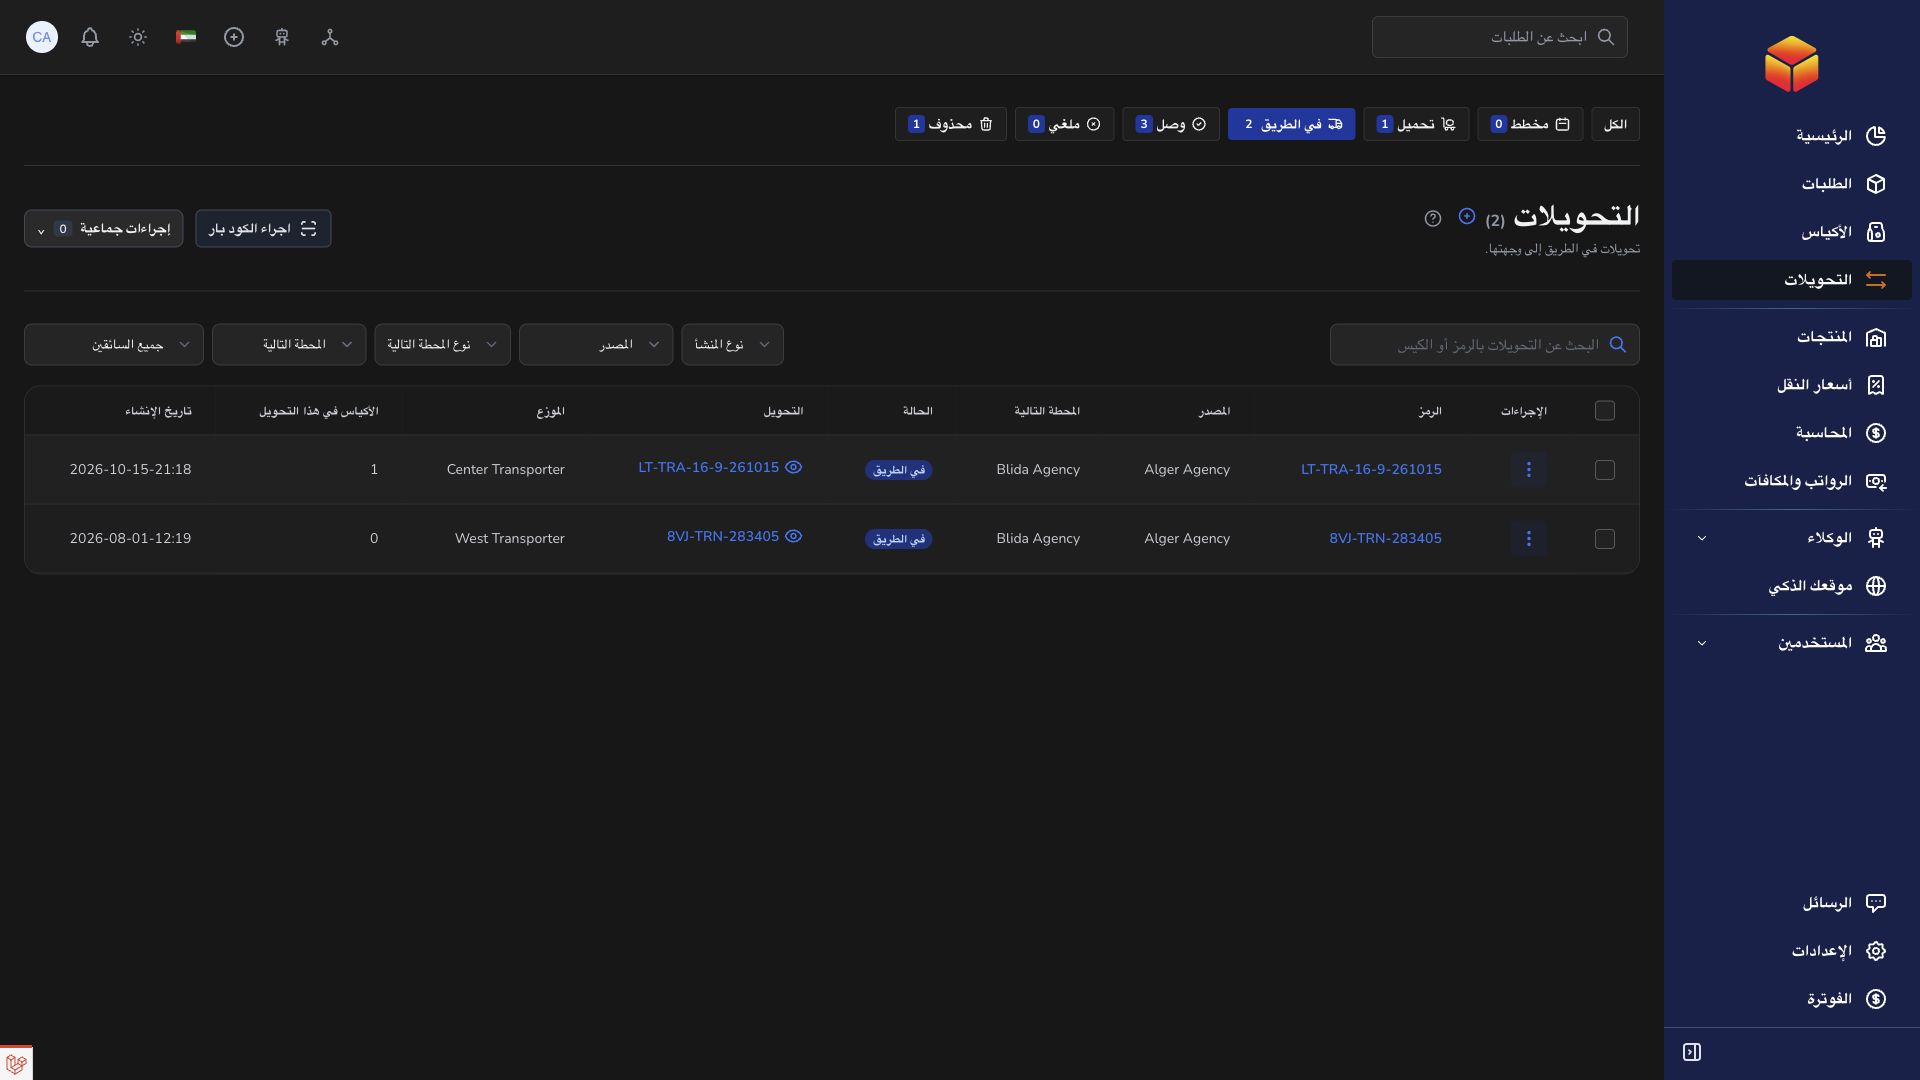
Planned is a saved movement awaiting loading. Loading means its manifest is being prepared. On the Road follows departure. Arrived means every outstanding bag has been received. A partially received transfer remains On the Road until the remaining bags are accounted for through receipt.
Agency and hub teams manage loading at their own departure location and receive at their own destination location. Assigned transporters can inspect their transfer and record permitted loading and departure actions; they do not confirm receipt for the destination team. Your account’s permissions still determine the controls shown.
Steps
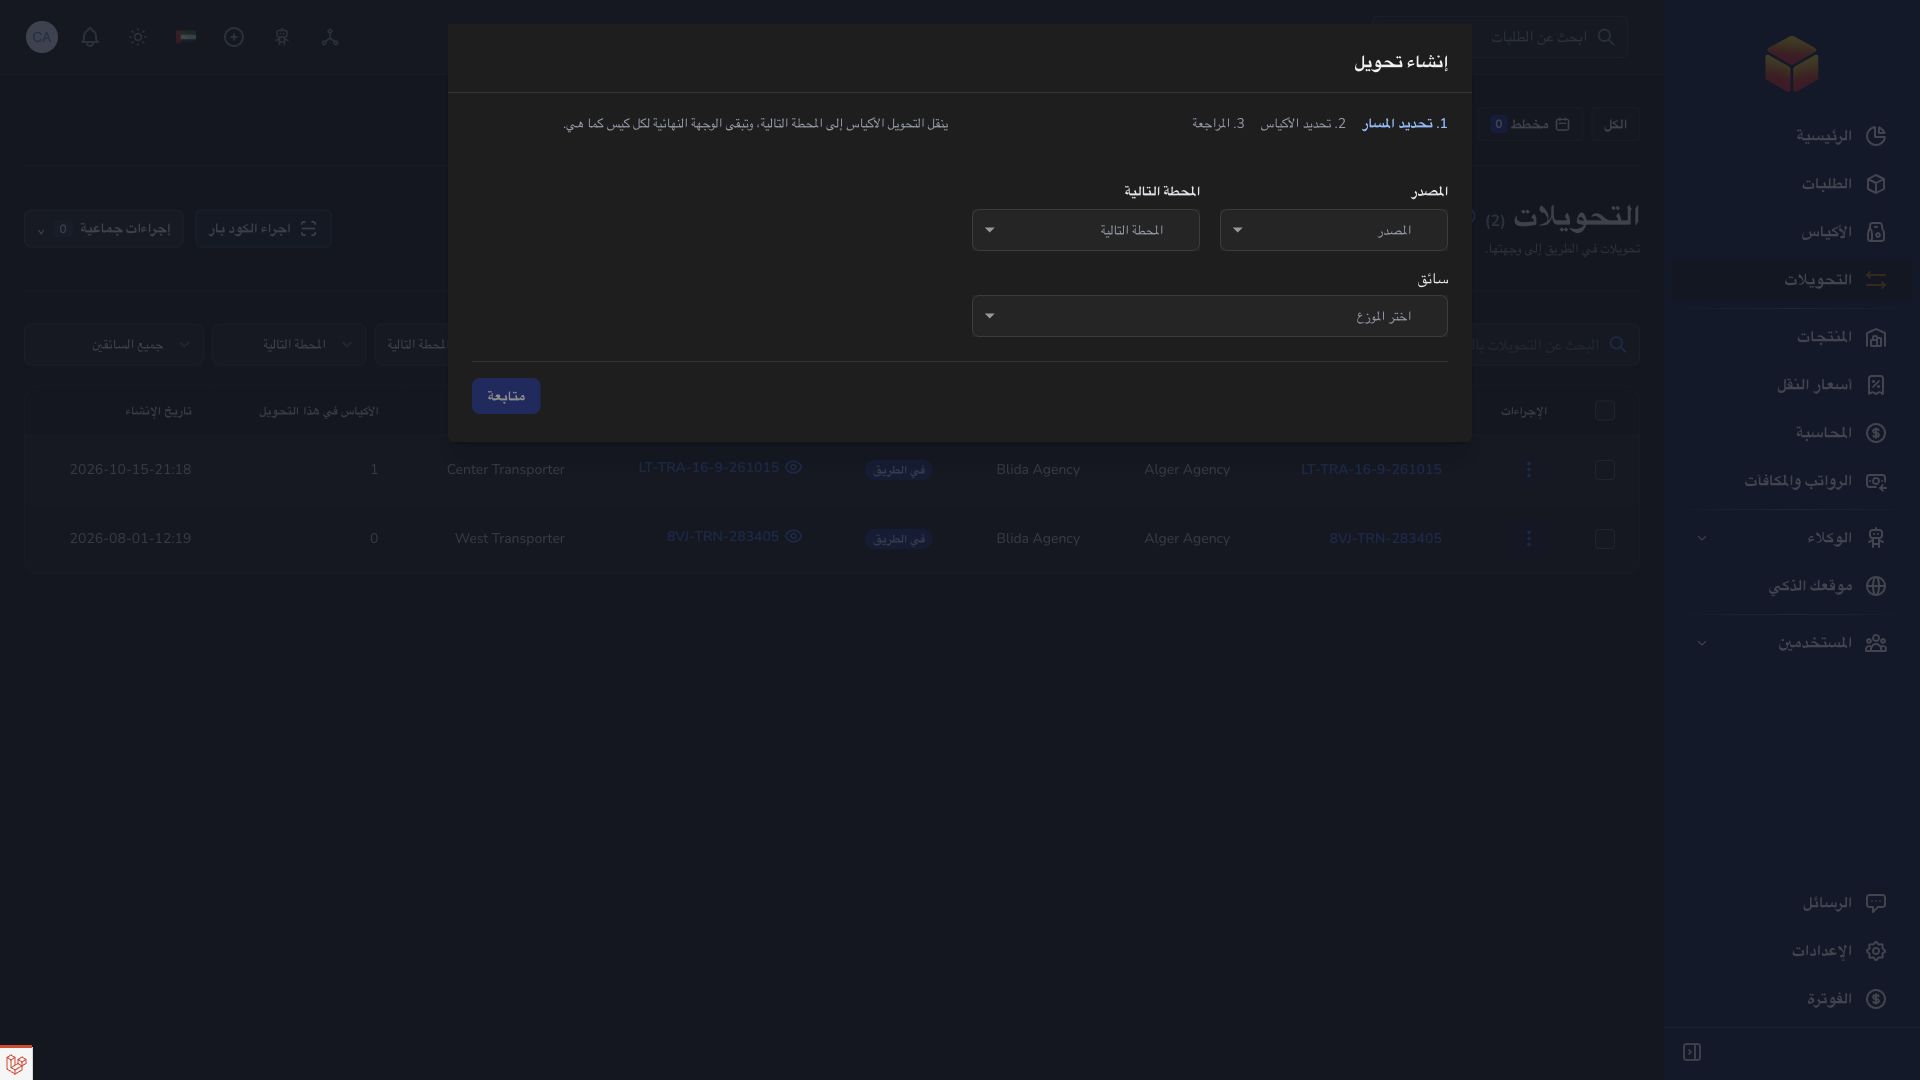
- Open Transfers and choose Create. The preparation flow takes you through Route, Bags and Review.
- Choose the departure location and the next stop. Both can be an agency or hub, but must be different locations. Agency and hub operators create departures from their own location.
- Choose a transporter when offered. The creation flow allows an unassigned plan; complete the operational assignment before handing the load to a driver.
- Continue to Bags. Search the available ready bags, inspect their route and current location, then select the ones physically intended for this load. Use select-all only after checking the displayed results.
- Confirm that every chosen bag is Ready to Send, at the departure location and not already assigned to another active movement. For an agency next stop, that agency must be the bag’s final destination.
- For a hub next stop, check the onward route: final destination agencies remain on the individual bags even though this leg ends at the hub.
- Review the departure point, next stop, selected bag codes, count and transporter. Create and load with bags starts Loading; Save plan without bags leaves the transfer Planned.
- Open the resulting transfer and compare the manifest again. A suitable existing Planned or Loading transfer on the same route may be reused, so use the resulting reference instead of assuming a new movement was created.
- If the transporter needs changing, use the assignment action at the departure location while it is offered. Check the transporter shown on the final transfer before the physical handover.
If no bags appear or an addition is refused
Check the bag’s readiness, current location, final agency and existing transfer assignment. A sealed bag still being prepared, a bag at another site or one already on another active movement cannot be loaded simply because its code is known.
When using Transfer from a selected group on the Bags page, the selected bags must also share a current location and final agency. That action requests a transporter and a next stop; it is different from saving an empty unassigned transfer plan.
Prepare the load without recording a false departure
A transfer in Loading can still be reconciled. Add bags using the search or scanner, or remove a wrongly included bag before departure. Removal makes the bag ready again at the departure location; physically remove it from the load too.
The bag-driven transfer action can reuse a suitable route already being prepared. Check the existing driver rather than assuming the selected driver replaced an earlier assignment. Loading and assignment are preparation steps; record Depart only when the vehicle leaves.
Good to know
A transporter assignment does not confirm physical loading or arrival. Keep the actual manifest and the transfer record aligned throughout preparation.
Application links
Application links require the appropriate account access. The destination is selected for your signed-in role.