Import order spreadsheets and export selected orders
Vendor accounts can import orders using the supplied spreadsheet template. Permitted users can export their selected visible orders to Excel.
Overview
Vendor accounts can import orders using the supplied spreadsheet template. Permitted users can export their selected visible orders to Excel.
Information, statuses and handoffs
The vendor supplies the merchant context and recipient information, while the company and its assigned operational teams process the shipment. Check the customer phone, address, product quantities and amounts before sending an order into operations. A correctly entered address does not replace the organizational and route assignment shown on the shipment.
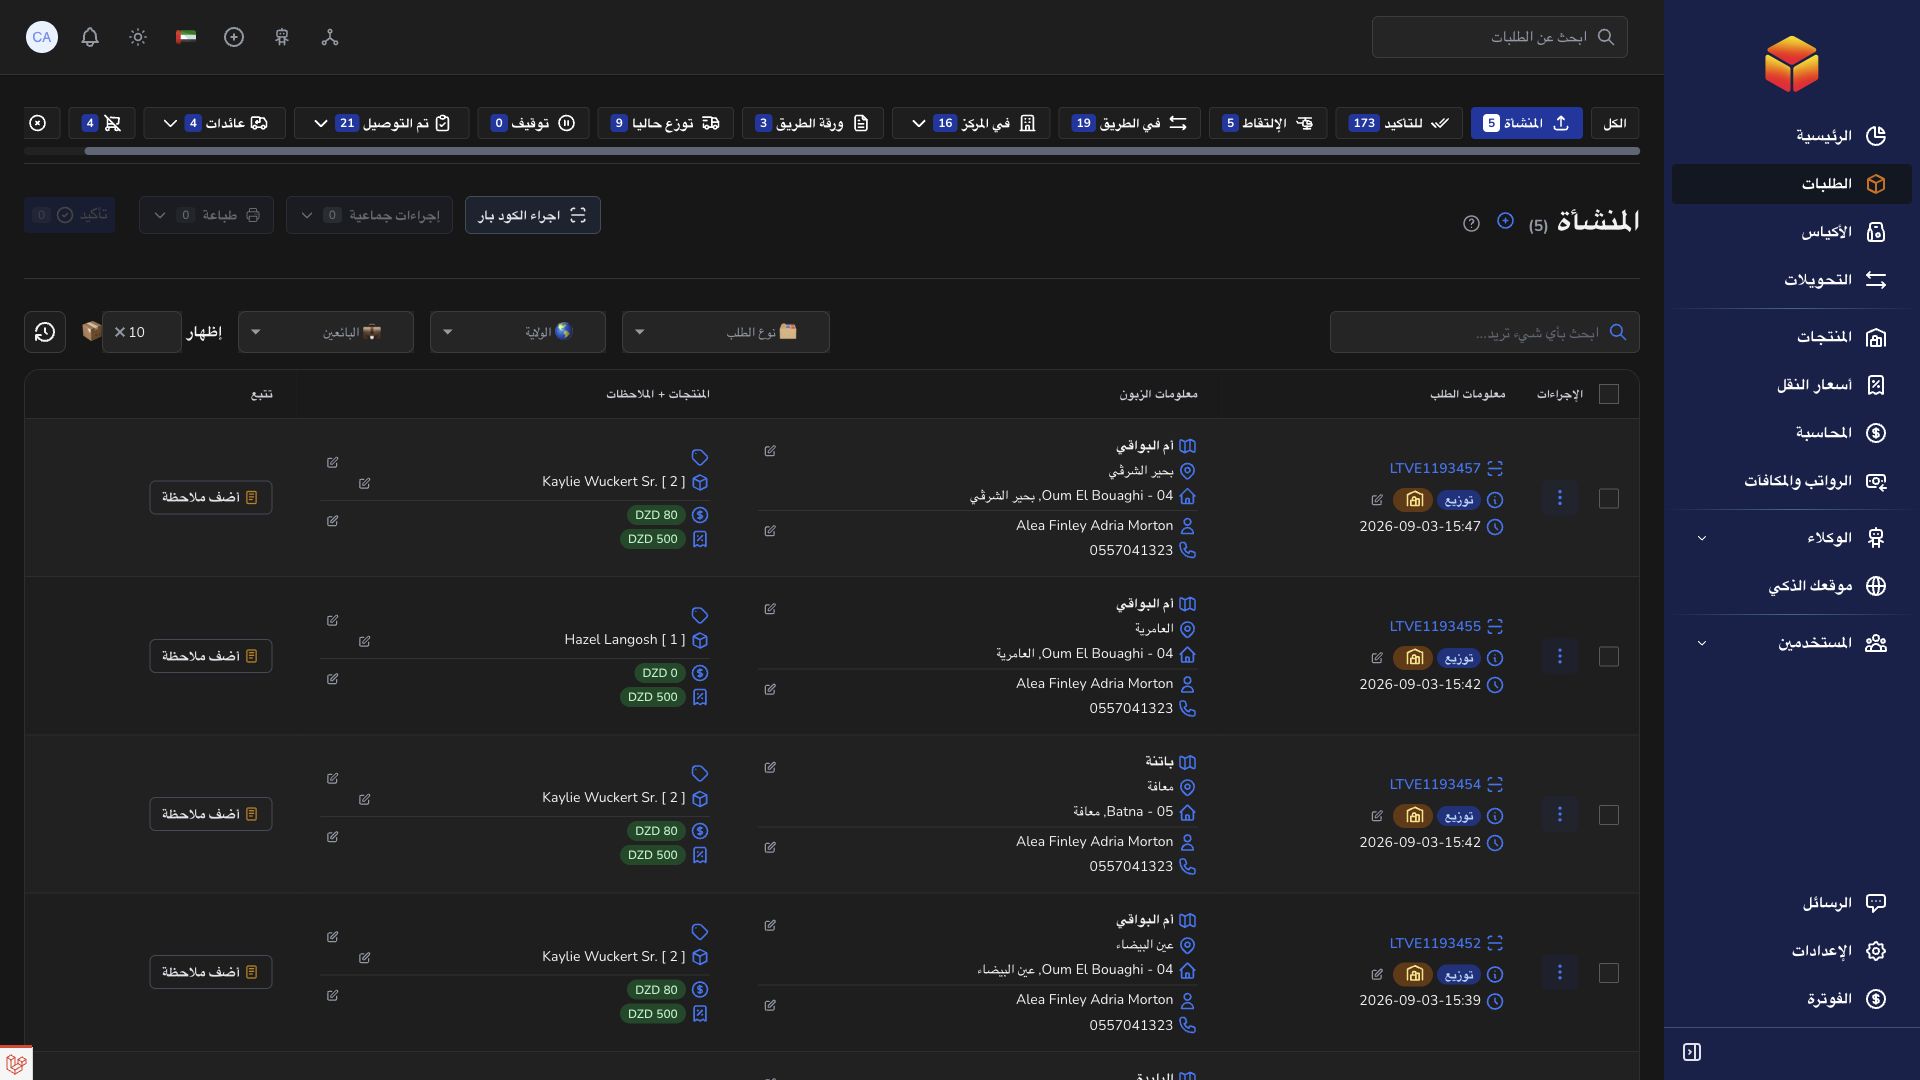
Order views include validation, transit, hub handling, roadmap or pickup work, delivery, completion and return stages. Suspended, canceled and deleted views identify different exceptions. The status history matters: two orders with similar customer information may be separate shipments at different stages. Use the barcode as the primary reference when contacting another team or asking the assistant for an exact page.
In forward bag preparation, only orders in transit or in hub are eligible. Return bags accept the supported in-hub and return stages. The order must belong to the bag’s company, match any assigned destination agency, have no current bag and be held at the bag’s preparation location. If a parcel fails these checks, inspect its current assignment instead of changing unrelated information to force it into a bag.
Steps
- For import, use the vendor account attached to the intended vendor. Open Import new orders and download the Excel example from that dialog; keep its column order.
- Complete the recipient, phone, address, city, state name and code, amount and other template fields. The vendor needs a starting state and an active tariff covering the chosen destination. Use only one special order-type flag for pickup, exchange or stop desk on each row.
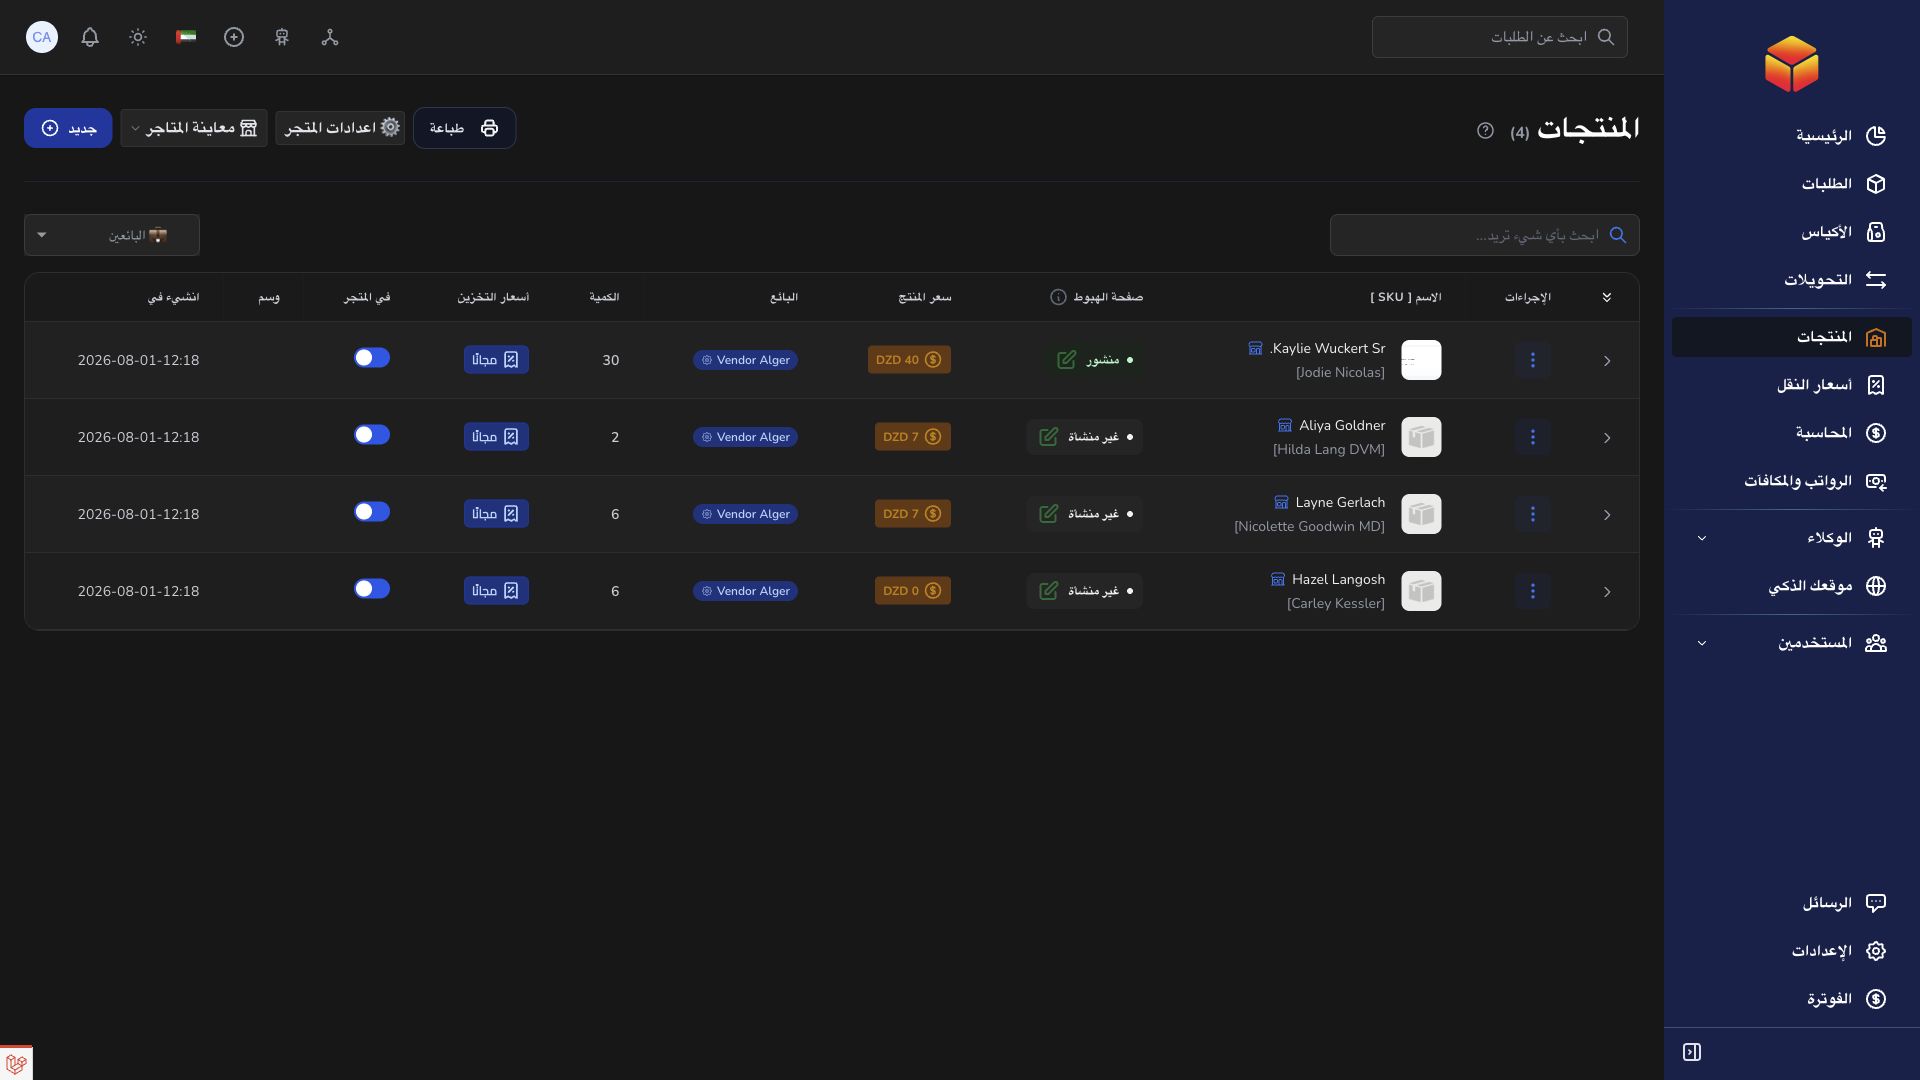
- For stock rows, provide a valid SKU belonging to the vendor and a positive quantity. The import does not accept variant products through that stock-SKU path. Check inventory before uploading.
- Upload an XLSX, XLS or CSV file no larger than 10 MB with at most 2,000 data rows. Read any row-and-column validation errors, correct the source file and retry. Check the resulting order list before repeating an upload after an interrupted connection.
- For export, filter the order list, select the intended records and choose Excel from the download menu. Verify the selected scope and keep the exported customer data appropriately protected.
Good to know
Import creates operational records and can consume stock; export only downloads data. A merchant reference already used by that vendor is rejected. Repeated rows for a single stock order have specific consistency rules, so do not reuse references casually or treat import as a general update tool.
Application links
Application links require the appropriate account access. The destination is selected for your signed-in role.