Understand the transporter role
A transporter works on the shipments and transfers assigned to that account and coordinates the physical movement with the responsible locations.
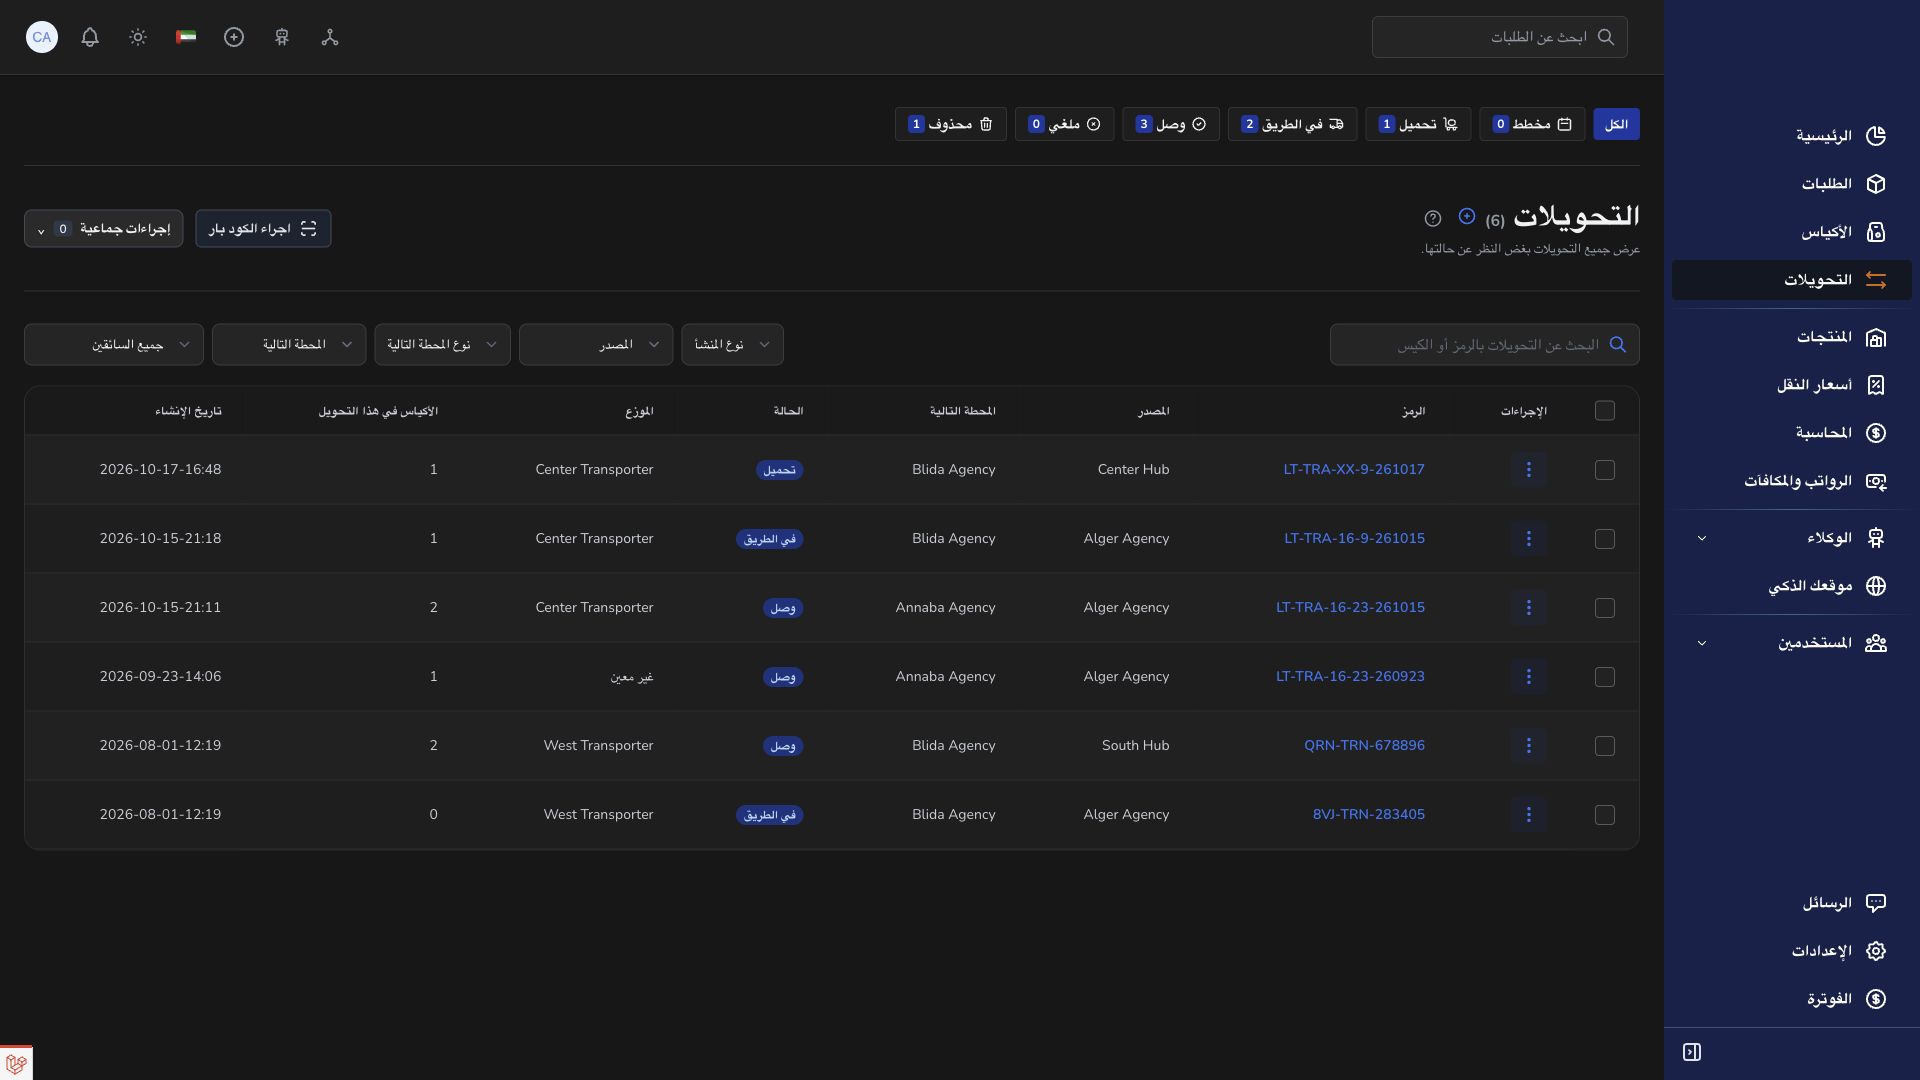
Your transfer workspace shows only transfers assigned to you. Search by transfer code and filter by status, then open a transfer to review its origin, next stop and bag manifest. When the current stage and your permissions allow it, use Start loading and Depart after checking the physical load. You cannot create transfers, assign another transporter or confirm arrival receipt; the receiving company, hub or agency team records receipt. Your Settings page contains personal notification preferences rather than company setup.
Overview
A transporter works on the shipments and transfers assigned to that account and coordinates the physical movement with the responsible locations.
How the roles work together
The company is the business boundary. Vendors supply the merchant and order information. Agencies handle local operations; hubs handle logistics movements between locations. Transporters carry the work assigned to them. A person signs in as a user attached to the appropriate organization and role. Changing a user assignment therefore changes the records and controls relevant to their work.
An order describes one shipment. A bag groups eligible orders and preserves their final origin and destination agencies. A transfer describes one movement between a hub or agency and another location; several transfer legs can carry the same bag toward its final destination. Keep the order barcode, bag reference and transfer reference distinct when discussing an issue.
Before acting, verify the physical situation, the record reference, current status and your assigned location. After saving, check the updated record rather than assuming the operation succeeded. Use Messages for coordination, Support for a tracked request, and Accounting for financial evidence. Public guides explain the workflow but cannot expose another organization’s records.
Steps
- Open the transporter dashboard and assigned Orders or Transfers. Confirm the reference, origin and destination before collecting a load.
- Reconcile the physical bags with the transfer record together with the sending team. Report a discrepancy before departure.
- Use only the operational controls offered to your account and current assignment. Loading and departure are separate stages of a transfer.
- Coordinate arrival with the destination team. Receipt and bag verification document what actually arrived; a message alone does not update those records.
- For order-level work, read the current status and customer information before applying the permitted next action.
- Review your Accounting page for financial entries and use Messages to clarify assignments. Include the transfer or order reference when reporting an issue.
Good to know
Transporters are selected from the same company when assigned to a transfer. Another transporter’s shared link does not grant access to their records or assignments.
Application links
Application links require the appropriate account access. The destination is selected for your signed-in role.